Fake It Until You Make It: Using Deep Fakes to Bypass Voice Biometrics

Introduction
The term “deep fake” is one that you’ve almost certainly heard in the last few years. From viral Tik Tok videos of “Tom Cruise” to attackers using deep fakes to obtain jobs, deep fakes are emerging everywhere. These forgeries can also be used to compromise a company’s internal data. But what are the practical applications of using a deep fake as a hacking technique? And how easy is it to perform this attack?
NetSPI recently had the opportunity to use a deep fake to bypass voice authentication for a tech support hotline. This article will highlight the technical process of creating and using a deep fake as an attack.
Background: Using Deep Fakes During a Red Team Assessment
You may be asking yourself, what is a deep fake? Deep fakes are fake audio, video, or image outputs created by specially designed artificial intelligence programs. An AI program uses known valid data and a neural network to produce a synthetic output. In this case, the synthetic output would be a person saying a passphrase.
So how can deep fakes be used as an attack?
One of our clients, a large financial institution, has a tech support hotline that employees call in to get help if they forget their password, are having issues with their laptop, can’t access a company resource, etc. To make it easier to authenticate users, the company was looking into a voice recognition biometrics solution.
The employee would call the helpdesk, provide their username, and then say a passphrase. If their voice matches, they would be authenticated and connected with a support agent.
The company was concerned about the system’s security against deep fakes even though the system claimed to have protections for detecting deep fakes and preventing access if detected. They engaged with NetSPI for a red team assessment, where my role was to create a deep fake and test it against the voice biometric system.
Disclaimer: Prior to this project, I had no formal training in machine learning or deep fake creation.
Creating a Deep Fake – General Process
The general process for how to make a deep fake of audio is as follows:
- Obtain training data.
- Train an AI model that works for my voice (a model is a file that has been trained to recognize certain types of patterns).
- Use this model to create synthetic audio.
Obtain Training Data
There were a few different routes for this task. I could use videos of executive interviews and process the audio, or I could record my own voice. I chose the latter due to the flexibility and relative ease it offered. Audio quality was also a concern, so recording my voice allowed me to keep the audio quality high, resulting in a better overall deep fake output.
I researched various audio recording programs and came across Mimic Recording Studio. It provided a nice web app interface, automatically removed background noise, and added a predetermined length of silence before and after the audio of me speaking (this makes it easier for the AI program to learn from the training data). Shout out to Thorsten Mueller for his comprehensive tutorial on how to set up and use this program.
However, this task wasn’t simple. There were multiple code changes I needed to make to get the program working on my local computer.
Mimic Recording Studio contains 30,000 phrases that the recorder can say. These phrases are designed to provide good linguistic coverage. The idea here is that by providing the known text of an audio recording with the audio clip, the AI program can learn how various words should sound.
About 10% of the time I invested into recording audio resulted in usable audio. I spent about 10 hours recording audio, which yielded 65 minutes of pure, usable audio to provide to the AI program. Through my research I found that the recommended amount of audio needed was at least four hours, with the best sounding models using over 20 hours of audio.
The data then had to be prepared so it can be fed into the AI training program. This parser/helper script helped with this task (thanks again to Thorsten Mueller).
Train an AI Model That Works for My Voice
Set up an AI Training Program
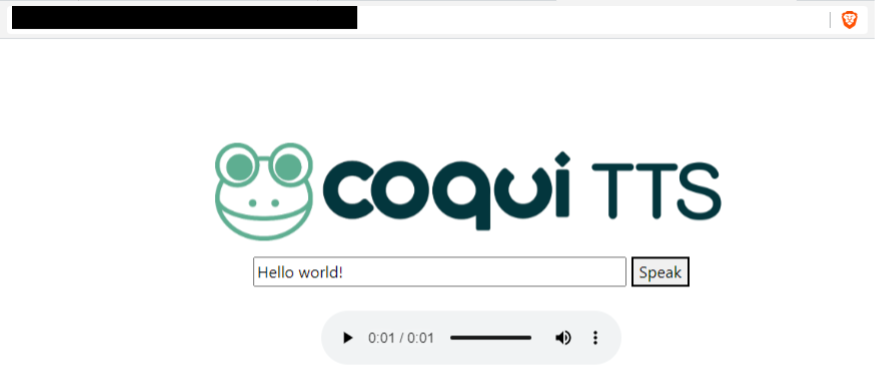
Multiple open-source programs can complete this task. However, not many of these programs are actively maintained, and even fewer of them have good documentation. I decided upon Coqui TTS as the AI training program because it is actively maintained, has good documentation, and great community support.
Shortly after attempting to get Coqui TTS installed, I fell straight into dependency hell – quickly realizing this was a common problem in the machine learning space.
Data scientists have built different Python package managers other than Pip called Anaconda, but it didn’t solve my dependency problem either. The only solution was trial and error. The overall solution? Installing all dependencies in a very specific order – a time consuming task.
For anyone looking for a technical solution, the installation process is as follows:
- In AWS EC2, create a new instance using the g4dn.xlarge type using Ubuntu 18
- Change the Python3 version to Python 3.8. Instructions here
- Download and install CUDA Toolkit 10.1
- Download “cuDNN v7.6.5 (November 5th, 2019), for CUDA 10.1”
- Download and install espeak
- Clone the Coqui TTS repository
- Configure the OS environment variable “PYTHONPATH” to include the cloned TTS repository (eg: PYTHONPATH=”/home/ubuntu /TTS/”)
- Create a Python virtual environment within Coqui TTS
- Active the Python3 virtual environment
- Configure bash to always use this virtual environment
- Example line to add to ~/.bashrc: source /home/ubuntu /TTS/bin/activate
- Example line to add to ~/.bashrc:
- Install PyTorch with pip3
- Install Coqui TTS dependencies
- pip3 install -r requirements.txt
Configure the Training
Next, I configured the training and provided the sample training data to Coqui TTS. I modified the train_tacotron_dca.py script to point to my dataset in LJSpeech format (see the Obtain Training Data section). I also modified the config to use an appropriate batch and eval_batch_size that fit the GPUs that I was using. If the AWS g4dn.xlarge is being used, a batch_size of 32 and eval_batch_size of 8 can be used. The epochs also needed to be modified to a very high value to ensure that training doesn’t stop.
Finally, I started the training with the below command:
CUDA_VISIBLE_DEVICES=0 MKL_NUM_THREADS=1 OMP_NUM_THREADS=1 python3 train_tacotron_dca.py
Monitor the Training
Training was challenging at first and needed monitoring to ensure that it was moving in the right direction and learning. This can be accomplished by viewing the training stats via Tensorboard, most importantly the alignment graph. This should look like a diagonal line (see below).
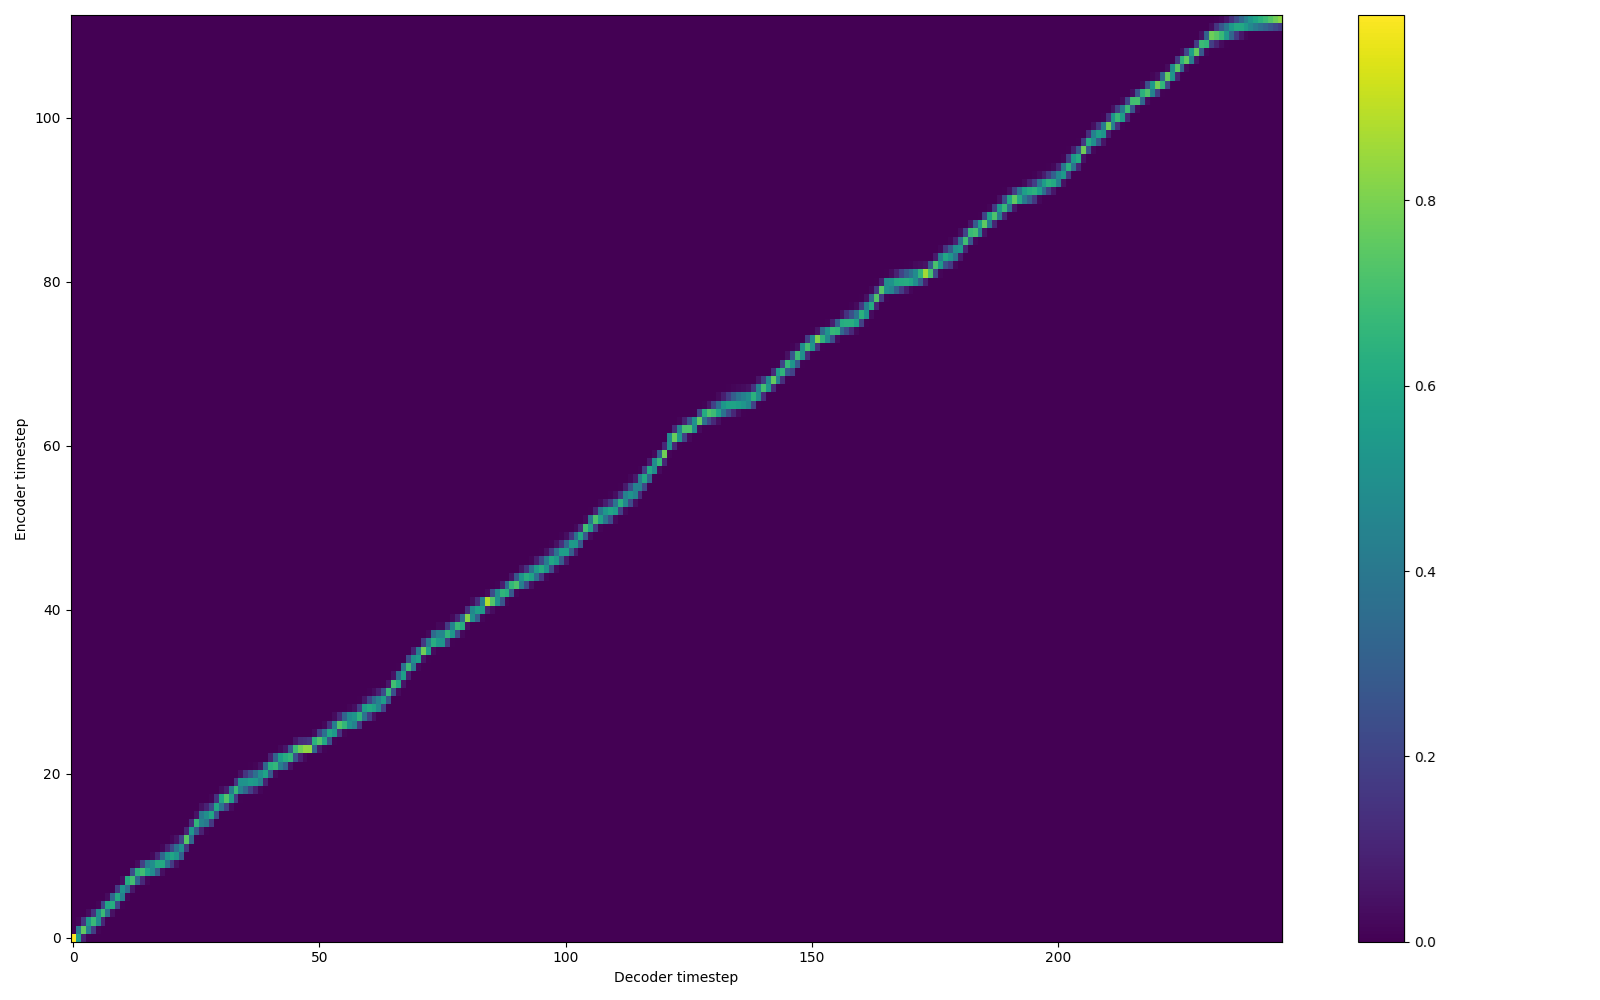
Note that if the training isn’t moving in the right direction or – for a number of possible reasons – fails, the training process needs to be restarted from the beginning or from a prior checkpoint.
Use This Model to Create Synthetic Audio
Once training is complete and a model is created, I can use it to create synthetic audio clips of myself.
Alternatively, the command line can be used:
python3 synthesize.py --text "Please authenticate me with my voice." --model_path ./checkpoint_60000.pth.tar --config_path ./config.json --out_path ./output.wav
Bypassing the Voice Biometric System
Finally, it was time to try out the effectiveness of the deep fake and see if it can be used to bypass voice authentication. There are two ways to test the effectiveness of our deep fake:
- Call into the helpdesk and provide the deep fake audio via phone.
- Send the deep fake audio via an API (i.e.: web) to the helpdesk.
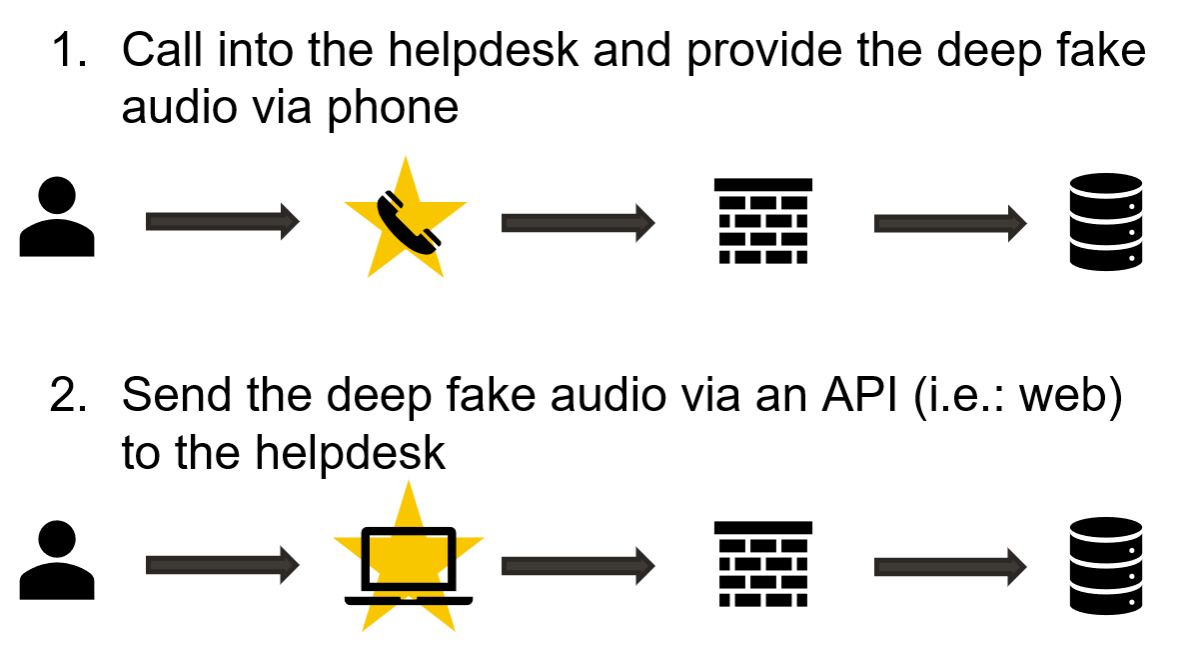
I chose to send the deep fake via API to preserve the audio quality and increase the chances of the attack succeeding.
First, the system needed a legitimate recording of me saying the authentication phrase. I provided this using API to ensure that the data the system was using was as high quality as possible.
Then, the deep fake was sent via a Base64 encoded parameter in a JSON-based POST request. The API would respond with a success or fail value with no additional information.
The attack ended up being successful! Audio samples that don’t sound realistic to human ears were accepted by the application as legitimate. The surprising part is how permissive the system actually was.
Audio clips were generated using models at varying training iterations, from 10k to 160k. This way, we could test how permissive the system was; under the assumption that the lower iteration models would produce less realistic audio clips and the higher iteration models would produce more realistic audio clips.
Deep fake audio outputs from 10k to 160k were then tested. Audio clips that almost every human would detect as being synthetic were accepted as legitimate input. In fact, only one audio clip (10k iteration) was detected as being fake; the rest were accepted as legitimate.
I had successfully created a deep fake model that could be used to bypass this voice biometric system. The attack was a success and the authentication on the biometrics system has been completely defeated with the very attack it claimed to protect against.
The Future of Deep Fakes
Deep fakes are still a relatively new phenomenon. The technology has only emerged in the last decade and we’re still in the early days. As the technology rapidly progresses, we’ll see more deep fakes entering everyday life.The most common use for deep fakes as an attack will be disinformation and misinformation. There have already been instances of deep fakes emerging for this purpose. One that comes to mind is a deep fake of Ukraine President Volodymyr Zelenskyy that came out a few months ago where he seemingly told his soldiers to lay down their arms and surrender.
However, as biometrics become a more common form of authentication, whether that’s voice or facial recognition, we will see similar attacks like this one, especially by advanced nation-state actors who have the time, resources, and expertise.
If this was interesting to you, I encourage you to research deep fakes more. There are plenty of free and open-source resources to learn how to create a deep fake. A great start would be the Coqui TTS wiki and Google Colaboratory, which allows you to access GPUs owned by Google free of charge.
Below are some helpful links and pages referenced in this blog post:
- Excellent tutorial with step-by-step instructions from Thorsten-Voice
- Instructions on how to set up Coqui TTS on Windows (note that this was used as a framework for setting up on Ubuntu)
- Coqui TTS Wiki
Looking for more interesting pentesting research on adversary simulation and voice authentication? Check out my colleague Patrick Sayler’s webinar on Automated Social Engineering for the Antisocial Engineer.
Explore More Blog Posts

Azure VM Command Execution using Third-Party Extensions – Chef
Discover how a privileged principal in Azure can abuse third-party extensions like Chef to achieve arbitrary command execution on target VMs by deploying malicious cookbooks to extract Managed Identity tokens.

CVE-2026-63030 & CVE-2026-60137: WordPress Core Pre-Authentication RCE Overview & Takeaways
These vulnerabilities allow attackers to chain an unauthenticated WordPress REST API flaw with a SQL injection bug to fully take over sites running Core 6.9.0–6.9.4 or 7.0.0–7.0.1.

ADPathFinder: OpenGraph Attack Path Mapping in BloodHound CE
ADPathFinder unifies SharpHound data with OpenGraph collectors like MSSQLHound and ConfigManBearPig. Discover how this tool maps complex, cross-dataset privilege escalation paths across AD, ADCS, MSSQL, and SCCM, and brings vital graph context to your password audits.